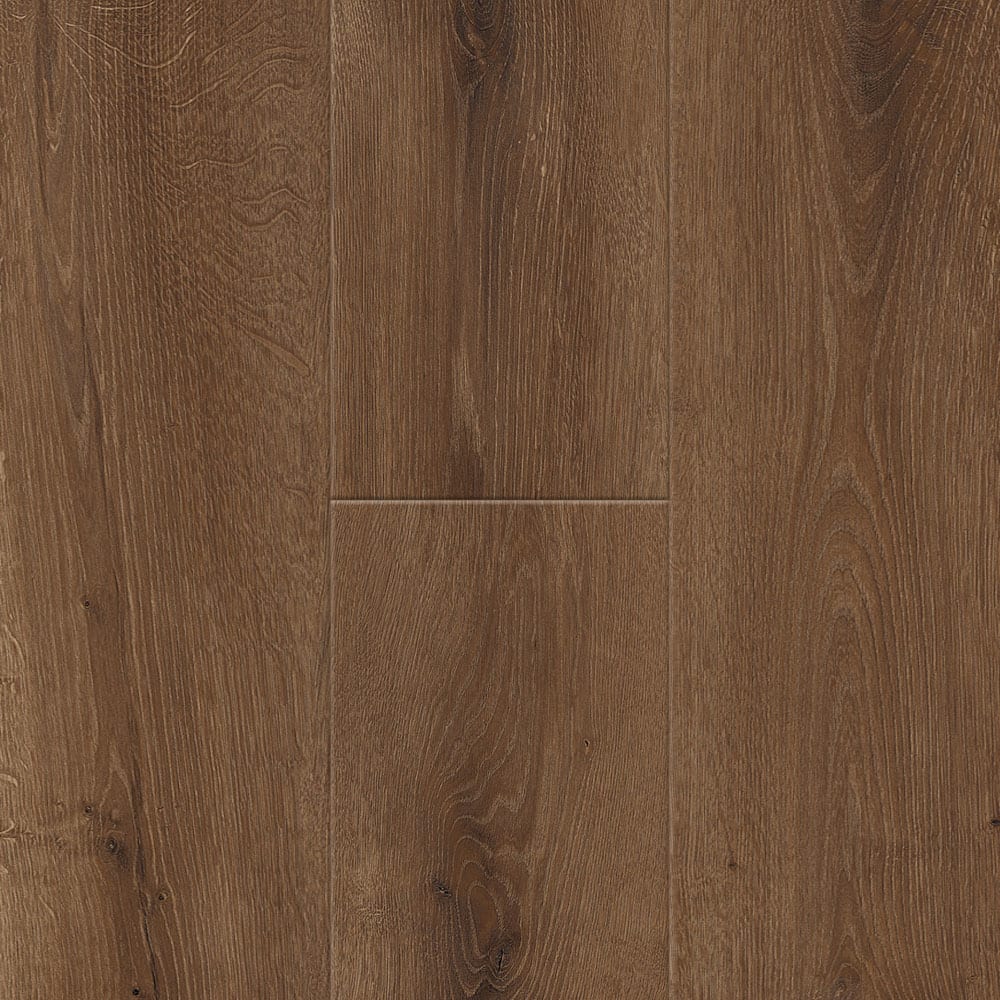
Are you tired of tired, old flooring? Does your kitchen feel dated, or is your bathroom floor starting to show its age? If you’re looking for a durable, stylish, and relatively easy-to-install flooring option, CoreLuxe vinyl plank flooring might be the perfect solution for you. This type of flooring boasts a beautiful, realistic wood-look finish with the added benefits of being waterproof, scratch-resistant, and incredibly easy to maintain. But don’t be intimidated! Installing CoreLuxe vinyl plank flooring is a DIY project within reach even for the beginner homeowner, and with this comprehensive guide, you’ll be well on your way to transforming your home.

Image: mromavolley.com
This guide will take you through each stage of the installation process, from preparing the subfloor to finishing the last plank. Whether you’re a seasoned DIYer or a first-time home renovator, we’ll provide clear instructions and helpful tips to ensure a successful and beautiful installation.
Getting Started: Gather Your Supplies and Tools
Before you dive into the installation, it’s crucial to gather all the necessary supplies and tools. This will ensure a smooth and efficient process, preventing frustrating last-minute trips to the hardware store.
Essential Supplies:
- CoreLuxe Vinyl Plank Flooring: Calculate the square footage of your flooring area and purchase enough planks to cover the entire space. Add extra planks for cuts and waste, especially if you’re working with intricate patterns or complex layouts.
- Underlayment: This provides a cushion and moisture barrier, protecting your flooring and extending its lifespan. Choose a suitable underlayment based on your subfloor type and the manufacturer’s recommendations.
- Trim: Select the appropriate trim for your project, such as baseboards, quarter-round molding, or transition strips, to create a polished finish around the edges of the flooring.
Essential Tools:
- Measuring Tape: Accuracy is key, so a dependable measuring tape is a must-have for measuring your space and cutting planks.
- Utility Knife: A sharp utility knife is essential for making precision cuts to the planks.
- Tapping Block and Pull Bar: These tools provide leverage to securely click the planks together and ensure a tight, consistent fit throughout the installation.
- Level: A level is necessary to ensure that your planks are installed evenly and prevent any unevenness or slopes across the flooring surface.
- Pencil: A simple pencil will come in handy for marking the planks and making any necessary measurements during the cutting process.
- Circular Saw: A circular saw with a fine-tooth blade for cutting vinyl planks is recommended for larger spaces or for making intricate cuts around fixtures or edges.

Image: mromavolley.com
Preparing the Subfloor: The Foundation for a Successful Installation
A well-prepared subfloor is crucial for a long-lasting and beautiful CoreLuxe vinyl plank installation. The subfloor serves as the base for your flooring, so it needs to be flat, level, and free from any imperfections. This is crucial for preventing unevenness or buckling in your new floor.
Step 1: Clean the Subfloor
Before you start, clean your existing subfloor thoroughly. This involves removing any debris, dirt, dust, or old adhesive residue. A swept or vacuumed subfloor ensures a clean surface for your underlayment and vinyl planks.
Step 2: Assess and Repair Any Subfloor Issues
Examine the subfloor carefully for any imperfections, such as gaps, dips, or creaking. If you find any problems, address them before proceeding with installation. Small gaps can be filled with wood putty, and dips can be leveled with self-leveling concrete or a plywood patch. Creaking subfloors require addressing the underlying issues to prevent sounds transmitting through the new flooring.
Step 3: Apply Underlayment
Once the subfloor is clean and any repairs are complete, apply underlayment. This is often a foam or rubber sheet that provides a moisture barrier and a cushioning effect, reducing noise and providing a comfortable walking surface. Follow the manufacturer’s instructions for proper installation, ensuring proper overlap and secure attachment.
Laying the First Row: A Crucial Starting Point
Now that you have a well-prepared subfloor comes the exciting part: laying down the first row of CoreLuxe planks!
Step 1: Start at the Wall
Choose a wall that will be the starting point for your flooring installation. Consider the location of doors and other fixed elements to create a visually balanced and functional layout.
Step 2: Measure and Cut the First Plank
Measure the distance between the wall and any obstacles, such as cabinets or door frames. Cut the first plank to fit this measurement, leaving a slight gap between the plank and the wall to allow for expansion and contraction of the flooring.
Step 3: Securely Install the First Plank
Carefully click the first plank into place, ensuring it is flush with the wall. Use a tapping block and pull bar to secure it tightly against the wall.
Step 4: Install Subsequents Planks
Continue laying planks in the first row, connecting them using the click-lock system built into CoreLuxe flooring. Always ensure a tight fit and work towards the adjacent wall. You will likely need to cut the last plank in the row to fit the space.
Continuing the Installation: Building the Floor Row by Row
With the first row laid down, you can now build onto it, row by row. Here’s how to proceed:
Step 1: Start the Second Row
Start the second row by laying the first plank perpendicular to the first row’s planks. Ensure there is a staggered pattern (offset the joints) to create a stronger and more visually appealing finish.
Step 2: Secure the Planks Together
Click the planks together, using your tapping block and pull bar for a tight, secure fit.
Step 3: Trim and Cut as Needed
As you lay planks in subsequent rows, you will likely need to cut the planks to fit around doors, pipes, or other obstacles. Use your utility knife or circular saw, ensuring all cuts are precise and clean.
Finishing Touches: Creating a Polished Installation
As you approach the end of your installation, pay attention to finishing details that elevate the look of your flooring.
Step 1: Install Transition Strips
Use transition strips to create a smooth transition between your CoreLuxe flooring and any existing flooring in adjacent rooms or areas. Secure the transition strips using a nail gun or adhesive,ensuring a seamless transition from one floor type to another.
Step 2: Install Baseboards and Trim
Once your flooring is fully installed, you can install baseboards and other trim elements. This adds a polished touch around the perimeter of the room and provides a clean finish.
Troubleshooting Common Installation Challenges
Even with meticulous planning and careful installation, you might encounter a few challenges. Here are some common problems and how to address them:
Uneven Gaps Between Planks
If you notice uneven gaps between planks, it might be due to improper installation, uneven subfloor, or insufficient tapping. Go back over the planks, ensuring a tight, secure fit. Use your tapping block and pull bar to gently adjust planks that are not properly aligned.
Uneven Flooring Surface
If your flooring surface is uneven, it might be due to a poorly prepared subfloor. Review your subfloor and ensure that it is truly level and flat. If a section of the subfloor is still uneven, you can shim it with thin pieces of wood to adjust the height.
Click-Lock Mechanism Not Connecting Properly
If you experience difficulties with the click-lock mechanism, gently double-check that the planks are properly aligned and engaged. Consider using a rubber mallet to gently tap the planks together.
How To Install Coreluxe Vinyl Plank Flooring
Enjoying Your New Flooring
Congratulations! You have successfully installed CoreLuxe vinyl plank flooring in your home. Now you can enjoy a beautiful and durable floor that adds a touch of elegance and modern style to your space. Care for your new flooring by regular sweeping or vacuuming and use a damp mop to remove any spills or dirt. Avoid harsh cleaning products or abrasives, as they can damage the surface of the flooring. With proper care and maintenance, your CoreLuxe vinyl plank flooring will provide years of beauty and functionality.


/GettyImages-173599369-58ad68f83df78c345b829dfc.jpg?w=740&resize=740,414&ssl=1)


