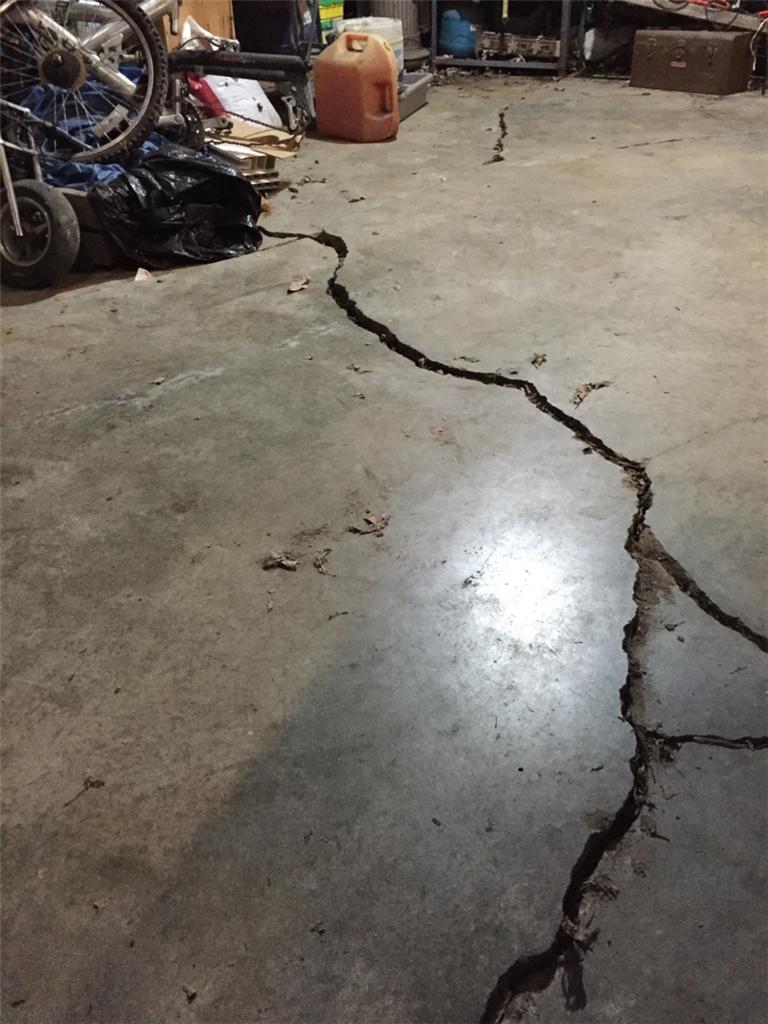
Imagine pulling into your garage after a long day, only to be greeted by a network of cracks spider-webbing across your concrete floor. It’s a common problem, and it can be frustrating. But don’t despair! Fixing cracks in your concrete garage floor doesn’t have to be a daunting task. With the right tools and a little know-how, you can restore your garage to its former, smooth glory and prevent further damage.

Image: phenergandm.com
Cracks in concrete floors are a common occurrence, particularly in garages. They can be caused by a variety of factors, including shifting ground, temperature changes, and even the weight of your car. Thankfully, most cracks are easily repaired, and a well-maintained concrete floor can last for decades. In this guide, we’ll break down the process of fixing cracks in your garage floor step by step, guiding you through each stage from preparation to finishing touches. Let’s get started!
Assessing the Damage
Before you dive into repairs, it’s crucial to assess the severity of the cracks. Small hairline cracks, often caused by temperature fluctuations, might not require immediate attention. However, wider cracks, those that are expanding, or those accompanied by crumbling concrete, demand prompt action. If the cracks are significant or you’re unsure of their cause, consult a professional concrete contractor for an expert evaluation.
Step 1: Preparing the Work Area
To ensure a smooth and successful repair, start by preparing the work area.
- Clean the Crack: Use a brush or vacuum to remove any dirt, debris, or loose concrete from the crack.
- Widen the Crack: For a more secure repair, use a chisel or a masonry drill with a carbide tip to widen the crack slightly. This creates an area for the patching compound to adhere effectively.
Step 2: Choosing the Right Patching Compound
The type of patching compound you use will depend on the size and severity of the crack.
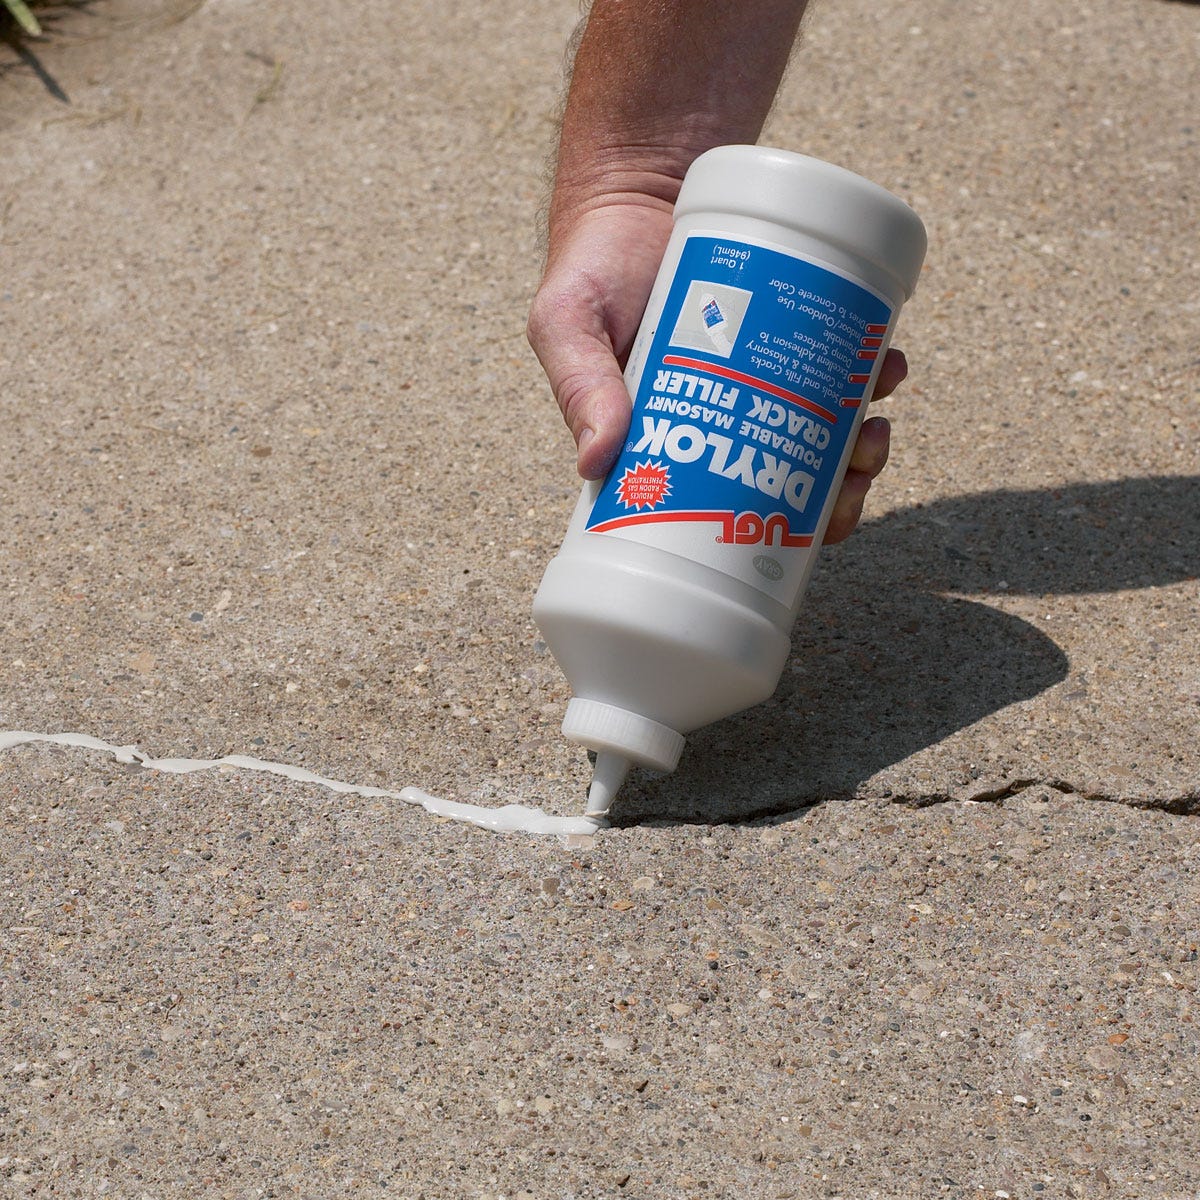
- Epoxy: This durable, high-strength compound is ideal for large, wide cracks or cracks that are under heavy stress.
- Acrylic: This water-based compound provides good adhesion and flexibility, making it suitable for smaller cracks and those in areas subject to minor movement.
- Polyurethane: This versatile compound offers excellent resistance to moisture and chemicals, making it ideal for garages that experience frequent spills or cleaning with strong chemicals.
Step 3: Applying the Patching Compound
Follow these steps for a professional-looking repair:
- Mix the Compound: Prepare the patching compound according to the manufacturer’s instructions.
- Apply the Patch: Use a trowel to pack the patching compound into the widened crack, ensuring it’s filled completely. For larger cracks, you may need to apply the compound in layers, allowing each layer to dry before adding the next.
- Smooth the Surface: Once the patched area has dried, use a damp sponge to smooth out any rough edges, creating a seamless transition with the surrounding concrete.
Step 4: Sealing the Crack
Sealing the crack prevents moisture intrusion and protects the repair from damage.
- Choose a Sealant: Choose a sealant specifically designed for concrete, ensuring it’s compatible with the patching compound.
- Apply the Sealant: Follow the manufacturer’s instructions for application. Commonly, a sealant can be applied with a brush or a caulking gun. Be sure to apply the sealant to all edges of the patch.
Step 5: Allow Time to Cure
After applying the sealant, allow ample time for the patching compound and sealant to fully cure. This ensures the repair is durable and long-lasting.
Expert Insights and Actionable Tips
- Protect your Garage: To prevent future cracks, consider installing a layer of epoxy coating on your garage floor. This protective barrier adds durability and helps resist damage from spills and abrasions.
- Maintain Your Garage: Regularly sweeping and cleaning your garage floor eliminates dirt and debris that can trap moisture and contribute to crack formation.
Conclusion
Fixing cracks in your concrete garage floor is a straightforward process that can add years to the life of your floor. By following these steps, you can create a smooth, durable surface that’s ready to handle the demands of your garage. Remember to invest in high-quality materials and take your time to ensure a professional-looking repair. If you’re ever unsure about any aspect of the process, don’t hesitate to seek advice from a professional.

Image: www.sportys.com
How To Fix Cracks In Concrete Garage Floor
https://youtube.com/watch?v=aQiy0QiGyg4


/GettyImages-173599369-58ad68f83df78c345b829dfc.jpg?w=740&resize=740,414&ssl=1)


