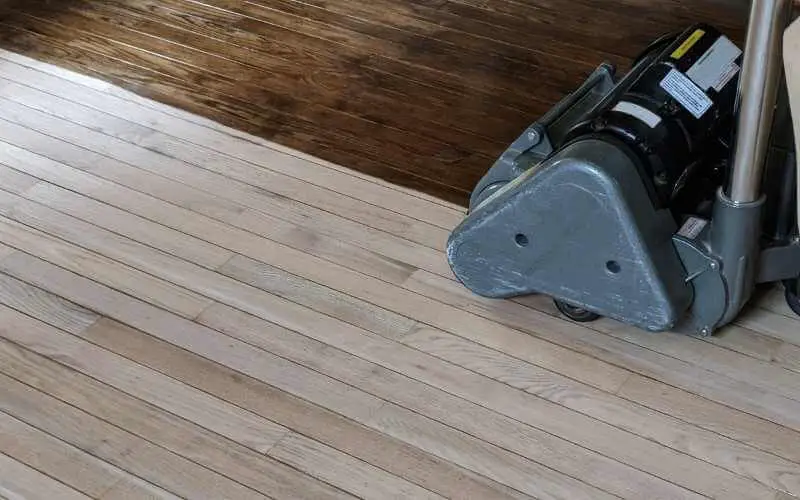
Have you ever gazed longingly at the rich, warm glow of newly-sanded hardwood floors? It’s a transformation that can completely change the feel of a space, breathing new life into tired rooms. But before you dive into the project, you might wonder: how long does it actually take to sand hardwood floors?

Image: floorcarekits.com
The answer, like many things in home improvement, is… it depends. The time it takes to sand your floors hinges on a variety of factors, from the size and condition of your floors to the experience level of the person doing the sanding. This guide will break down the process, outlining the steps, possible timelines, and factors that influence the final sanding duration. This way, you can approach your project with realistic expectations and a clear understanding of what to expect.
Preparing for the Sanding Journey
Before touching a sander, proper preparation is vital. It sets the stage for a smooth and efficient sanding process. Here’s what you need to consider:
- Assessing the Damage: Take a close look at your floors. Are they lightly scratched, heavily damaged, or warped? The severity of the damage dictates the amount of sanding necessary.
- The Size of the Battlefield: The size of your floor area will directly impact sanding time. A small room will take much less time than a large living room or entire open-plan space.
- Clearing the Decks: Before sanding, you need a clean slate. This entails removing all furniture, rugs, and loose objects, ensuring a clear path for the sander.
- Clearing the Air: Sanding creates dust, which can be a major nuisance. Investing in a high-quality dust collection system can significantly reduce this issue, improving your health and protecting your furnishings.
The Sanding Process: A Breakdown
The sanding process typically involves at least three stages:
- Rough Sanding: This initial step involves using coarse-grit sandpaper to remove the top layer of the floor. It addresses imperfections like scratches, stains, and unevenness.
- Medium Sanding: Once the rough sanding is complete, you move on to medium-grit sandpaper. This stage aims to even out the surface and remove any lingering scratches or blemishes.
- Fine Sanding: The final sanding stage uses fine-grit sandpaper, creating a smooth, uniform surface ready for finishing coats.
How Long Does Each Stage Take?
While each stage plays a crucial role, the duration of each can vary:
- Rough Sanding (1-2 days): This is the most time-consuming stage, especially for heavily damaged or large floors.
- Medium Sanding (½ – 1 day): The medium sanding step is typically faster, requiring less time and effort.
- Fine Sanding (½ – 1 day): The final sanding stage focuses on refinement, usually requiring a shorter duration than the previous steps.

Image: flooringstype.com
Factors That Influence Sanding Time
Several factors can impact how long it takes to sand hardwood floors:
- Experience Level: A seasoned professional can complete the sanding process faster than a novice.
- The Type of Sander: Different sanders have varying capabilities. Drum sanders can tackle large areas quickly, while orbital sanders work well for smaller spaces.
- The Condition of the Floor: The extent of the damage plays a critical role. Heavily damaged floors require more sanding, which naturally takes longer.
- The Floor Material: Different wood types have varying densities. Hardwoods like oak and maple might require more sanding than softer woods like pine.
- The Number of Coats: If you plan on multiple coats of finish, you’ll need to sand between each coat, adding to the overall sanding time.
Sanding with Professional Help
For some homeowners, the sanding process might seem daunting. If you’re not comfortable tackling it yourself, hiring a professional is always an option. Here’s how it can benefit you:
- Expertise: Professionals bring years of experience and knowledge to the task, ensuring a quality finish.
- Time Saver: Hiring a professional can save you a significant amount of time, allowing you to focus on other aspects of your project.
- Effort Reduction: Sanding can be physically demanding. Professional sanders handle the heavy lifting, sparing your body from strain.
Tips for a Successful Sanding Experience
Whether you’re tackling the sanding yourself or working with a professional, these tips can help you achieve the best results:
- Start Small: If you’re new to sanding, practice on a small, inconspicuous area before tackling the entire floor.
- Take Your Time: Rush jobs rarely turn out well. Patience and a methodical approach are key to achieving a smooth and even floor surface.
- Sand with the Grain: Always sand in the direction of the wood grain, avoiding cross-grain sanding, which can create visible scratches.
- Don’t Over-Sand: Over-sanding can damage the floor, leading to unevenness or thin wood.
- Clean Up Thoroughly: Thoroughly remove dust between coats, ensuring a smooth, even finish.
How Long Does It Take To Sand Hardwood Floors
The Final Word on Sanding Time
The time it takes to sand hardwood floors is not a one-size-fits-all answer. It depends on a multitude of factors. Ultimately, proper preparation, careful planning, and considering the advice from seasoned professionals will help you achieve the desired results, regardless of the time it takes. Remember, patience and a methodical approach are key to creating a beautiful, long-lasting floor for your home.


/GettyImages-173599369-58ad68f83df78c345b829dfc.jpg?w=740&resize=740,414&ssl=1)


