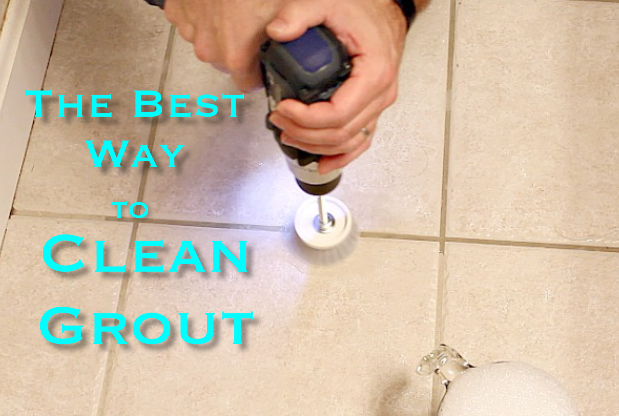
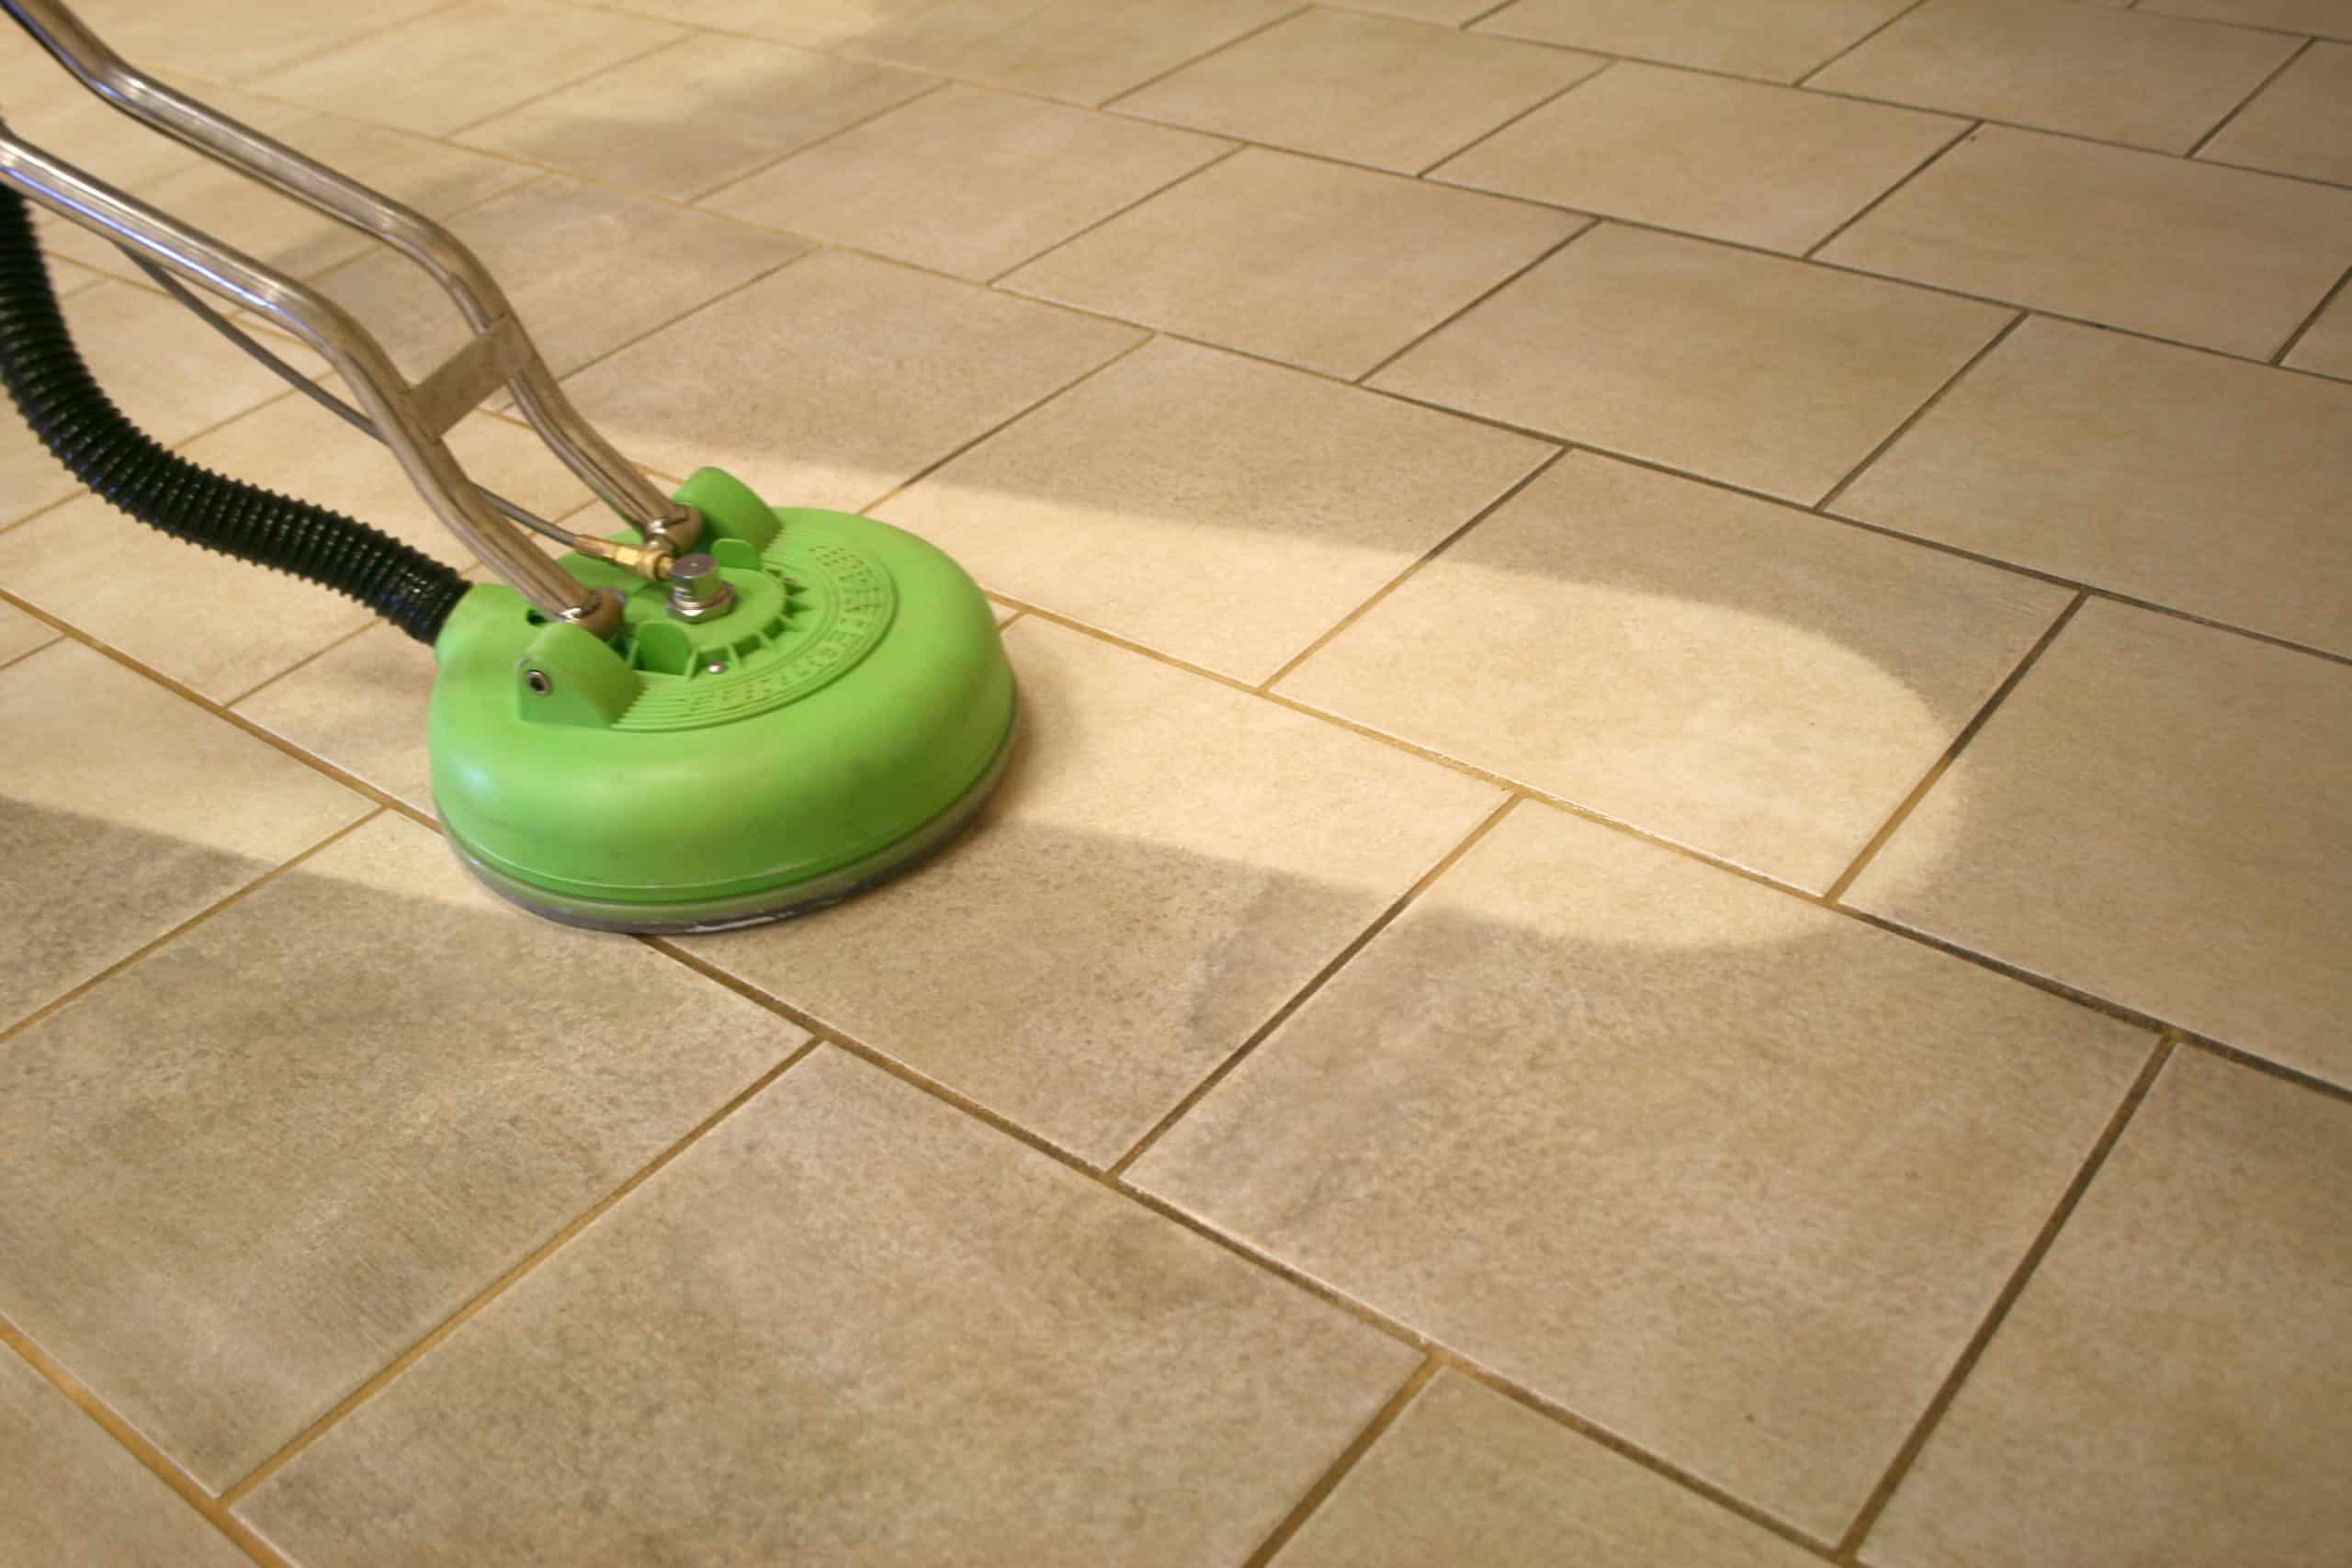
Have you ever stared down at your beautiful tile floors, only to be met with the disheartening sight of dingy, discolored grout? It’s a common problem, and one that can instantly make a room look older and less inviting. I know this feeling all too well. My kitchen floor, once a gleaming source of pride, became a victim of time, spills, and well, life. It was time for a makeover, and I decided to embark on a mission to finally conquer the grout. What I discovered was a world of cleaning tips, tricks, and products, and I learned that achieving sparkling grout isn’t as daunting as it might seem.

Image: hometalk.com
This article is your guide to conquering dirty grout. We will explore the best methods and products to clean your grout, from natural remedies to professional-grade solutions, along with tips to prevent future grime from accumulating. Whether you’re dealing with a light dusting of dirt or a stubborn stain, this guide will equip you with the knowledge and confidence to transform your floors. So, let’s get started with achieving that sparkling-clean look!
Understanding Grout and Its Cleaning Challenges
Grout is the mortar used to fill the gaps between tiles and create a strong, sealed surface. While it provides a beautiful finish, grout is porous and can easily absorb dirt, grime, mold, mildew, and even stains. This makes cleaning it a unique challenge compared to the smooth surfaces of the tiles themselves. Frequent foot traffic, spills, and humidity contribute to the buildup of grime, requiring a dedicated cleaning approach.
To tackle this issue head-on, you first need to understand the materials your grout is made of. Typically, there are two main types: cement-based grout and epoxy grout. Cement-based grout is the most common and often found in older homes. It’s porous and susceptible to staining, while epoxy grout is more stain-resistant and ideal for high-traffic areas. Knowing your grout type helps you choose the best cleaning methods and products.
Essential Grout Cleaning Tools and Products
The Right Tools
To make your cleaning experience efficient and effective, you’ll need the right tools. Here are some essentials:
- A stiff-bristled brush: This is essential for scrubbing away dirt and grime. A grout brush with angled bristles is ideal for reaching tight spaces between tiles.
- A scrub brush with a long handle: A long-handled brush is helpful for cleaning hard-to-reach areas, like under appliances.
- A sponge: A damp sponge will help to spread cleaning solutions and wipe away leftover residue.
- Old toothbrushes: These are great for scrubbing tough spots and crevices.
- Microfiber cloths: These absorbent cloths will leave your grout sparkling clean and dry.
- Bucket: You’ll need this for mixing cleaning solutions.
- Gloves: Protective gloves are essential, especially when working with harsh cleaning chemicals.

Image: jjvs.org
Choosing the Right Cleaner
Selecting the right cleaning solution is crucial. There are numerous options available, ranging from natural solutions to powerful commercial cleaners.
- Baking soda: This is a safe and effective cleaning agent, especially for light dirt and stains. Mix baking soda with water to create a paste, apply it to the grout, scrub, and rinse.
- Vinegar: White vinegar is a natural disinfectant and can be used to tackle grime and mold. Diluted vinegar can be applied to the grout with a spray bottle, scrubbed, and then rinsed.
- Bleach: Bleach is a powerful disinfectant but should be used with caution, as it can discolor grout. When using bleach, always test it on an inconspicuous area first to ensure it doesn’t cause any discoloration.
- Commercial grout cleaners: There are various commercial cleaners specifically designed for grout.These are often effective in tackling stubborn stains and grime.
The Step-by-Step Guide to Cleaning Grout
1. Preparation is Key
Before you start scrubbing, prepare the area to make the cleaning process more efficient. Clear the floor of any furniture or obstacles. Sweep or vacuum the floor to remove loose dirt and debris. This will prevent the dirt from mixing with your cleaning solution and create a muddy mess.
2. Pre-Clean with a Soft-Bristled Brush
Use a soft-bristled brush to gently pre-clean the grout. This will help loosen up surface dirt and grime, making the cleaning process easier.
3. Choose Your Cleaning Method
Apply your chosen cleaning solution to the grout, being careful to avoid the tiles themselves, as some solutions can damage tile finishes.
- Baking Soda Paste: Mix baking soda with water to create a paste. Apply the paste to the grout, let it sit for a few minutes, and then scrub with a stiff-bristled brush.
- Vinegar Solution: Dilute white vinegar with water (a 1:1 ratio is a good starting point). Spray the vinegar solution on the grout, let it sit for a few minutes, and then scrub with a stiff-bristled brush.
- Bleach Solution: Mix bleach with water according to the product instructions. Apply the bleach solution to the grout, let it sit for a few minutes, and then scrub with a stiff-bristled brush. Always wear gloves when working with bleach.
- Commercial Grout Cleaner: Apply the commercial cleaner according to the product instructions. Scrub with a stiff-bristled brush.
4. Scrub, Scrub, Scrub!
Now it’s time to get your elbow grease working. Use your stiff-bristled brush to thoroughly scrub the grout, paying particular attention to any stubborn stains or grime. Work in small sections to ensure you don’t miss any areas.
5. Rinse Thoroughly
Once you’ve scrubbed the entire grout area, rinse it thoroughly with clean water. Use a sponge or a mop to remove all cleaning solution residue and dirt. Repeat the rinse process until all soap and residue is gone.
6. Dry the Grout
Use a microfiber cloth or towel to dry the grout. This will help to prevent streaking and ensure a clean, dry finish.
7. Repeat as Needed
If your grout is heavily soiled, you may need to repeat the cleaning process multiple times to achieve the desired results. Be patient and persistent, as consistent cleaning is key to maintaining sparkling grout.
Preventing Future Grout Discoloration
Maintaining clean grout is a continuous process. Here are some tips to prevent future discoloration:
- Clean frequently: Regular cleaning, even just a quick wipe-down with a damp cloth, will prevent dirt and grime from accumulating.
- Use a grout sealer: Grout sealer helps to create a protective barrier against stains and moisture. Apply sealer according to the manufacturer’s instructions after cleaning the grout.
- Clean up spills immediately: Spills and messes should be cleaned up as soon as they occur to prevent staining. Always wipe up spills instead of letting them sit and dry.
- Use doormats: Doormats can help keep dirt and debris from being tracked into your home. Make sure to shake out or vacuum your doormats regularly.
- Clean your mop often: Dirty mop heads can spread dirt and grime to your clean floors.
Tips and Expert Advice
Here’s a little extra guidance from my experience tackling grout grime:
- Don’t let it get too bad: The longer you wait to clean grout, the more difficult it is to remove the stains. Clean your grout regularly to prevent it from becoming heavily soiled.
- Test cleaning products on a small area: Before applying any cleaning product to the entire floor, test it on a small, inconspicuous area. This will help you ensure that the product does not damage your tile or cause discoloration.
- Work in small sections: It’s better to tackle a small section of grout at a time. This makes the cleaning process more manageable and allows you to see your progress.
- Be patient: Cleaning grout can be a time-consuming process, so be patient and don’t rush the process.
FAQs on Grout Cleaning
What is the best way to clean grout between tiles?
The best way to clean grout between tiles depends on the severity of the dirt and the type of grout. For light dirt and stains, a baking soda and water paste or a vinegar solution can be effective. For tougher stains and grime, you may need a stronger cleaner, like bleach or a commercial grout cleaner.
What should you not use to clean grout?
Avoid using harsh chemical cleaners, such as ammonia-based cleaners or acidic cleaners, on your grout. These cleaners can damage the grout and cause discoloration. Always check the product label and test on a small area first.
How do you get black grout white again?
To get black grout white again, you will likely need to use a stronger cleaner. Bleach is a common solution for black grout, but be sure to test it on a small area first. Commercial grout cleaners can also be effective. If the discoloration is severe, you may need to consider using a handheld steamer or professional grout cleaning services.
How often should you clean grout?
For best results, clean your grout regularly. Aim to clean it at least once a month or more frequently in high-traffic areas. Regular cleaning can help prevent grout from becoming heavily soiled and make it easier to maintain.
Best Way To Clean Grout On Floors
Conclusion
Achieving sparkling clean grout can transform the look of your entire floor! By understanding the type of grout you have, choosing the right cleaning method, and following the steps outlined in this guide, you can conquer even the most stubborn dirt and grime. Remember, regular cleaning and preventive measures are key to maintaining spotless floors.
Are you ready to tackle your dirty grout and achieve sparkling clean floors? Let us know in the comments if you have any tips or tricks for cleaning grout!


/GettyImages-173599369-58ad68f83df78c345b829dfc.jpg?w=740&resize=740,414&ssl=1)


