Imagine this: You’re excitedly showing off your newly renovated living room, beaming with pride at the gleaming hardwood floors. Then, disaster strikes. A misplaced furniture leg, a playful pet, or a dropped object leaves a deep scratch marring the otherwise perfect surface. The dream of pristine floors suddenly feels like a distant memory. But fear not, all hope is not lost! With the right tools and techniques, you can effectively repair scratches in your hardwood flooring, restoring their beauty and extending their lifespan.

Image: artisanwoodfloorsllc.com
This guide will walk you through different methods for repairing scratches in hardwood flooring, from simple touch-ups to more involved techniques. We’ll cover everything you need to know, from choosing the right materials to executing the repair with precision. Let’s dive in and get those floors looking good as new!
Assessing the Damage: Understanding the Severity of Scratches
The first step in repairing scratches is accurately assessing their severity. This will determine the best approach for restoration. Minor scratches, those that are superficial and only affect the finish, can often be repaired with simple solutions. However, deeper scratches that penetrate the wood necessitate more intricate repair methods.
A good way to determine the depth of a scratch is to run your fingernail along its length. If the scratch feels rough and your fingernail catches, it’s likely a deeper scratch that needs more than just a touch-up. It’s also important to consider the color and type of your hardwood floor. Some wood finishes are more forgiving than others when it comes to scratches. For instance, dark-colored floors tend to show scratches less prominently than lighter-colored floors.
Repairing Minor Scratches: Simple Solutions for Superficial Damage
1. Touch-Up Sticks and Markers
Touch-up sticks and markers are readily available at most hardware stores and are designed specifically for filling in minor scratches on hardwood floors. They contain wax or a blend of pigments that closely match the color of your floor. The application is simple:
- Clean the affected area with a damp cloth to remove dust and debris.
- Apply the touch-up stick or marker, gently rubbing it into the scratch.
- Wipe away any excess with a clean cloth.
The results from touch-up sticks and markers can be quite effective in minimizing the appearance of minor scratches, especially on floors with a darker finish. However, the repairs may not last as long as more permanent solutions.

Image: www.dummies.com
2. Wood Filler
For slightly deeper scratches that are still not too severe, a good option is to use wood filler. It’s a paste-like substance that comes in a variety of colors to match different wood types.
- Clean the area with a damp cloth and allow it to dry completely.
- Apply the wood filler, pressing it firmly into the scratch.
- Use a putty knife to smooth out the surface and remove any excess filler.
- Let the filler dry completely according to the manufacturer’s instructions.
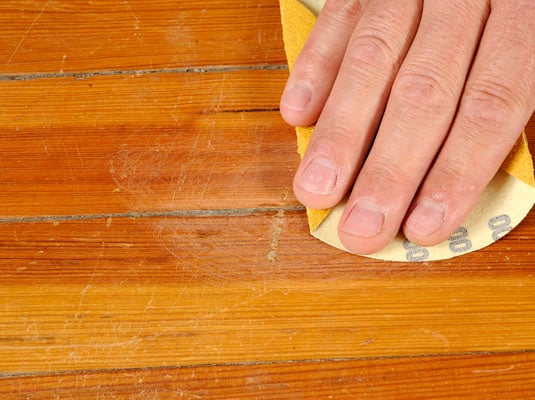
- Once dry, lightly sand the area with fine-grit sandpaper to blend it in with the surrounding wood.
Wood filler is a more durable solution compared to touch-up sticks or markers, and it can effectively hide scratches that are a bit deeper.
Repairing Deeper Scratches: More Involved Techniques for Serious Damage
1. Sanding and Refinishing
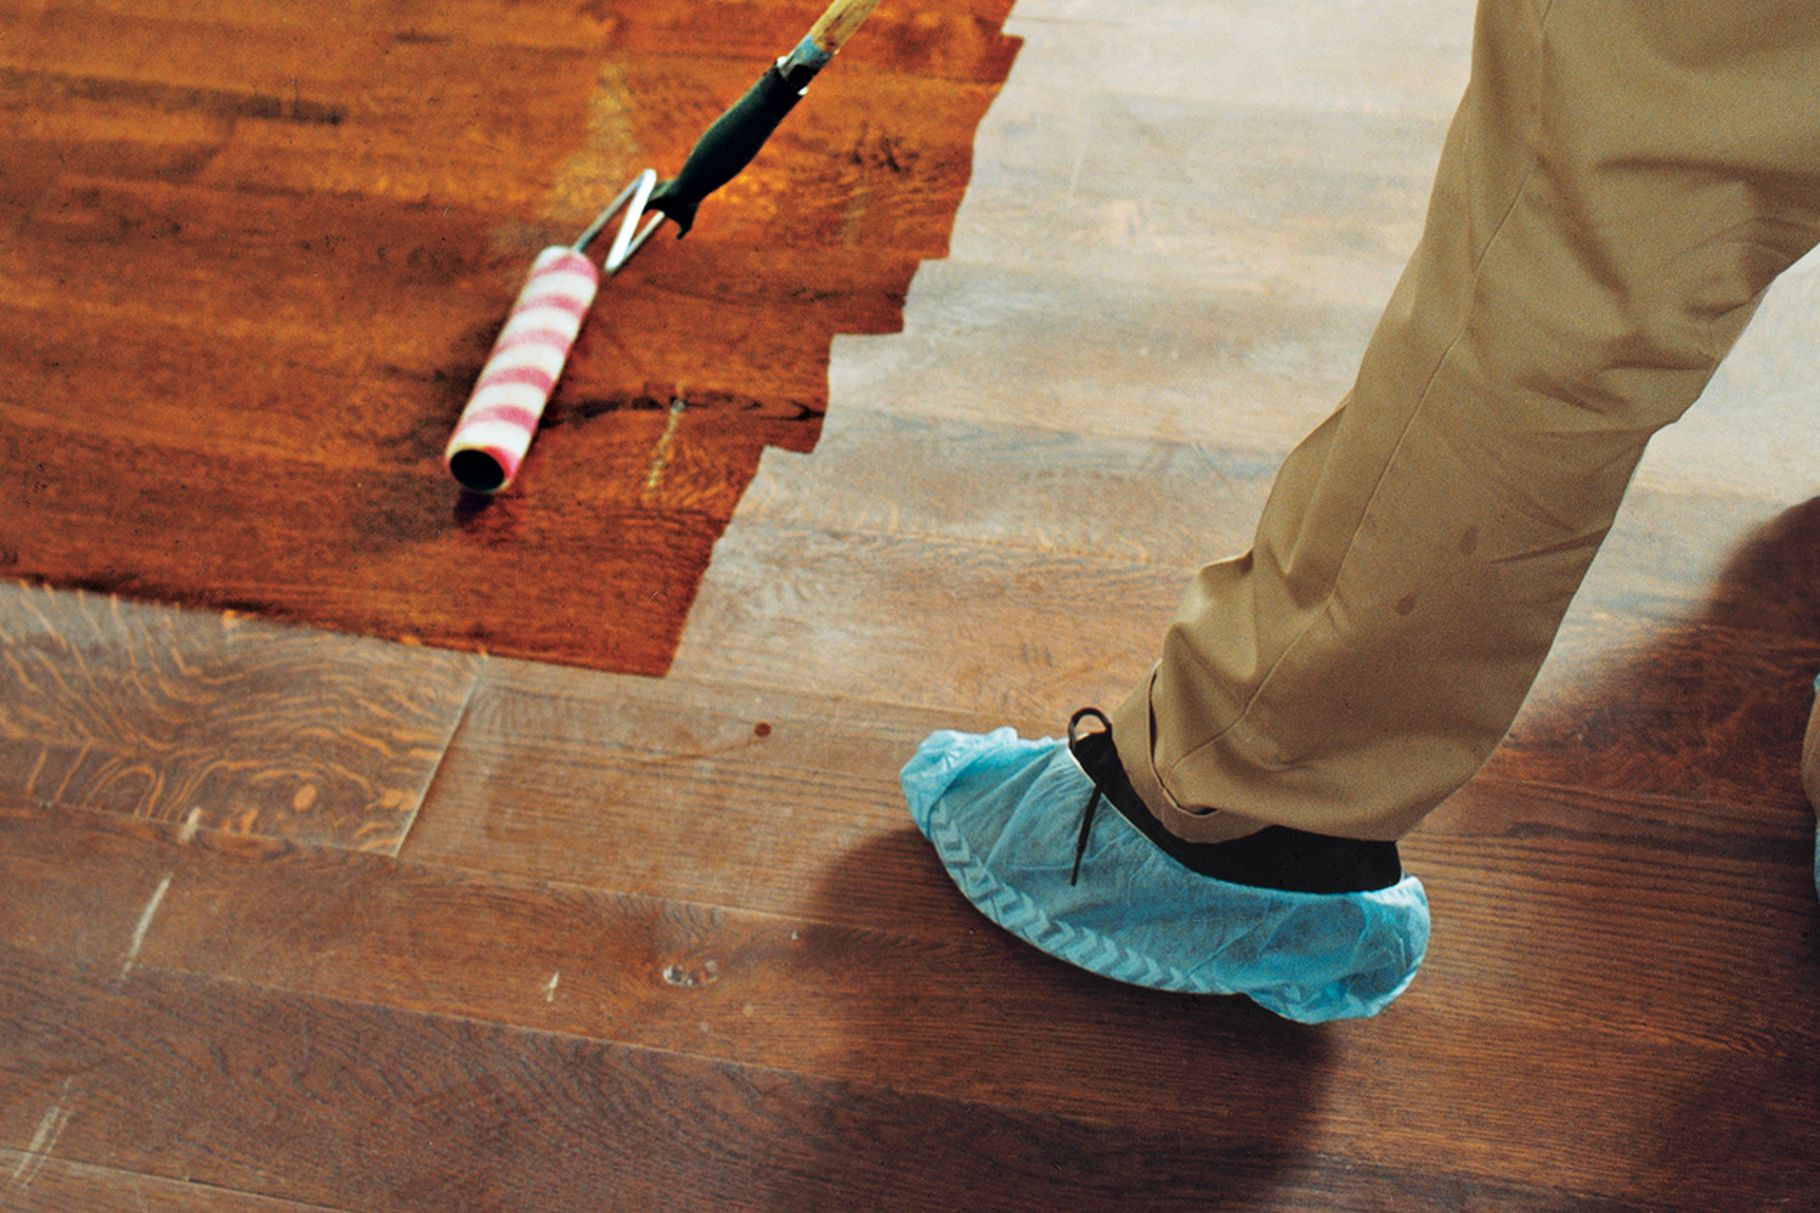
For deeper scratches that penetrate the wood’s surface, sanding and refinishing may be necessary. This is a labor-intensive process, but it’s the most effective way to restore the floor to its original condition.
- Start by sanding the entire floor, paying particular attention to the scratched area.
- Use progressively finer grits of sandpaper to smooth out the surface, working your way from coarse to fine.
- Next, apply a wood stain to match the original color of the floor.
- Finally, apply multiple coats of polyurethane sealer to protect the finish.
Sanding and refinishing is a comprehensive solution that effectively removes deep scratches and evens out the entire floor. However, it is a time-consuming process.
2. Using a Wood Patch
In cases where the scratch is too deep to be filled with wood filler, a wood patch may be a better option. This is a small piece of wood that is cut to the shape of the scratch and glued into place.
- Clean the affected area thoroughly with a damp cloth.
- Cut a piece of wood from a scrap piece or purchase a wood patch specifically designed for repairs.
- Apply wood glue to the underside of the wood patch and press it firmly into the scratch.
- Clamp the patch in place to ensure a secure bond.
- Allow the glue to dry completely before sanding and refinishing the area.
Tips and Expert Advice
Here are some additional tips to help you achieve the best results when repairing scratches in your hardwood floors:
- Choose the Right Materials: Select materials specifically designed for hardwood floor repairs. For example, use wood filler formulated for hardwood floors and use a high-quality polyurethane sealer to protect the finish.
- Test Colors before Applying: Always test the color of touch-up sticks or markers on a discreet area of your floor to ensure a perfect match.
- Use a Light Touch: When using sandpaper, work in a back-and-forth motion, applying light pressure to avoid gouging the wood.
- Protect Your Surface: Cover any surrounding areas with drop cloths or painters’ tape to prevent damage from dust and debris.
- Clean Regularly: Regular cleaning will help to prevent scratches from accumulating on your floors. Use a dust mop or vacuum with a soft-bristled brush head to remove dirt and debris.
Frequently Asked Questions
Q: Can I use a furniture polish to fill in scratches?
A: No, furniture polish is not designed to fill in scratches. It can actually make scratches more visible by creating a polished surface that highlights imperfections.
Q: How often should I re-seal my hardwood floors?
A: The frequency of re-sealing depends on the type of finish and the level of traffic in the area. However, it is generally recommended to re-seal your floors every 2-3 years.
Q: What is the best way to prevent scratches?
A: Use furniture pads on the legs of furniture, trim your pet’s nails regularly, and place rugs in high-traffic areas to minimize the risk of scratches.
How To Repair Scratches In Hardwood Flooring
Conclusion
Repairing scratches in hardwood flooring can seem like an overwhelming task, but with the right tools and techniques, you can achieve professional-looking results. Whether you’re tackling minor scratches with touch-up sticks or taking on deeper damage with sanding and refinishing, this guide has provided you with the knowledge and confidence to restore your floors to their former glory. Remember, taking preventive measures such as using furniture pads and regular cleaning can help keep your hardwood floors looking their best for years to come.
Are you ready to tackle those scratches and bring back the shine to your hardwood floors? Let us know in the comments below!


/GettyImages-173599369-58ad68f83df78c345b829dfc.jpg?w=740&resize=740,414&ssl=1)


