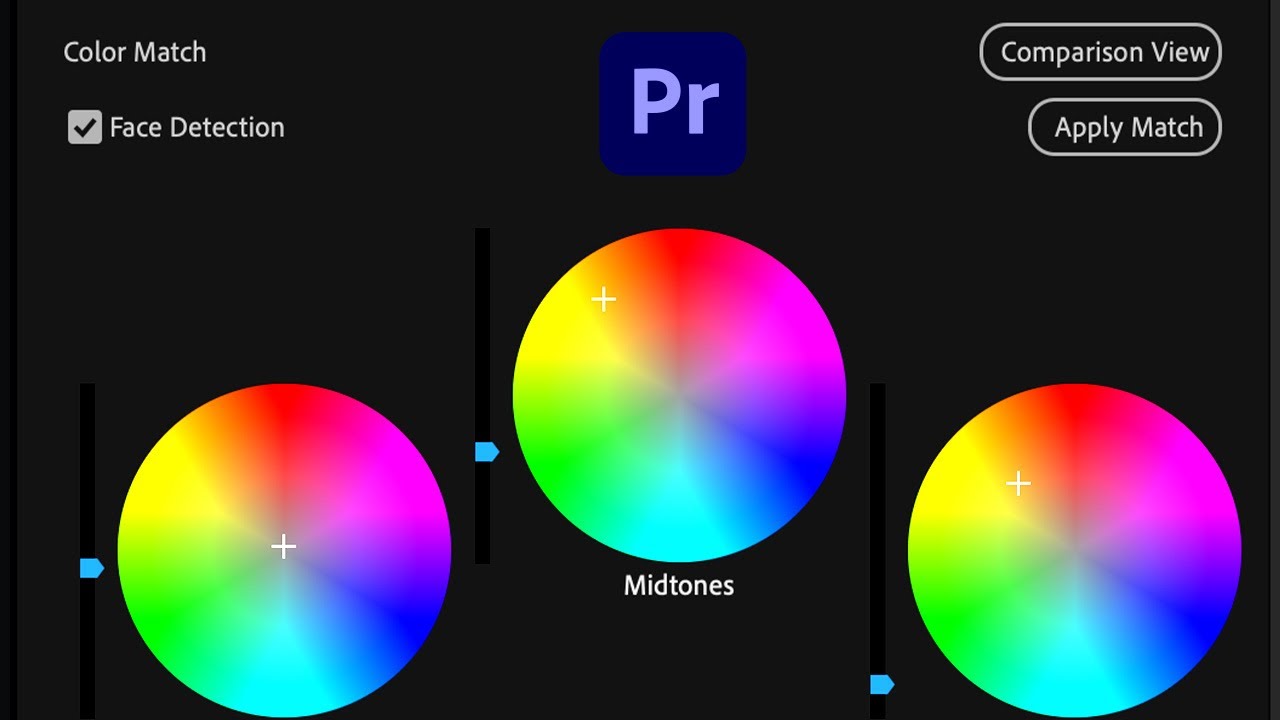
Ever wondered how Hollywood movies achieve that stunning visual magic? A huge part of it lies in color grading, the art of meticulously crafting a film’s visual palette using color correction tools. If you’ve ever wished to infuse your Premiere Pro projects with a similar cinematic touch, you’ve come to the right place.

Image: www.youtube.com
This comprehensive guide will demystify the world of color editing in Premiere Pro, teaching you essential techniques and strategies to elevate your videos to a whole new level of visual sophistication. From mastering basic adjustments to exploring advanced color grading workflows, you’ll discover how to unleash the creative potential within your footage and leave a lasting impression with vibrant, impactful visuals.
Building the Foundation: Understanding Color Correction
Before diving into the tools and techniques, let’s lay the groundwork with a clear understanding of the fundamental concepts in color correction:
1. Color Space: The Language of Colors
Imagine colors as a spectrum of light waves. In digital video, these waves are measured and displayed within specific color spaces, like sRGB (standard for web), Rec. 709 (for TV), or DCI-P3 (for cinema). A color space defines the range of colors that can be represented and displayed accurately. Understanding the color space of your footage and target platform is crucial for maintaining color accuracy throughout the editing process.
2. Color Grading vs Color Correction: A Clear Distinction
Color correction, as the name suggests, involves fixing any color inconsistencies and restoring the natural colors, ensuring accuracy and realism. This often includes:
- White Balance: Correcting the color temperature of your footage to match the lighting conditions.
- Exposure: Adjusting the overall brightness and contrast of the image.
- Gamma: Fine-tuning the mid-tones to achieve a balanced look.
Color grading, on the other hand, is about pushing creative boundaries. It’s the art of using color to enhance the mood, style, and storytelling aspects of your video, often going beyond the limitations of reality. Think about the distinctive color palettes in films like “The Grand Budapest Hotel” or “Blade Runner 2049.” This stage encompasses:
- Color Temperature: Evoking specific emotions and atmospheres (e.g., warm tones for intimacy, cool tones for suspense).
- Saturation: Controlling the richness of colors, creating a more dramatic or subtle feel.
- Contrast: Emphasizing certain elements and drawing the viewer’s attention.

Image: creativepro.com
Mastering the Color Tools: Unleashing Premiere Pro’s Potential
Now that you have a foundational understanding of color correction and grading, let’s explore the tools within Premiere Pro that will empower you to achieve remarkable results:
1. The Lumetri Color Panel: Your One-Stop Color Shop
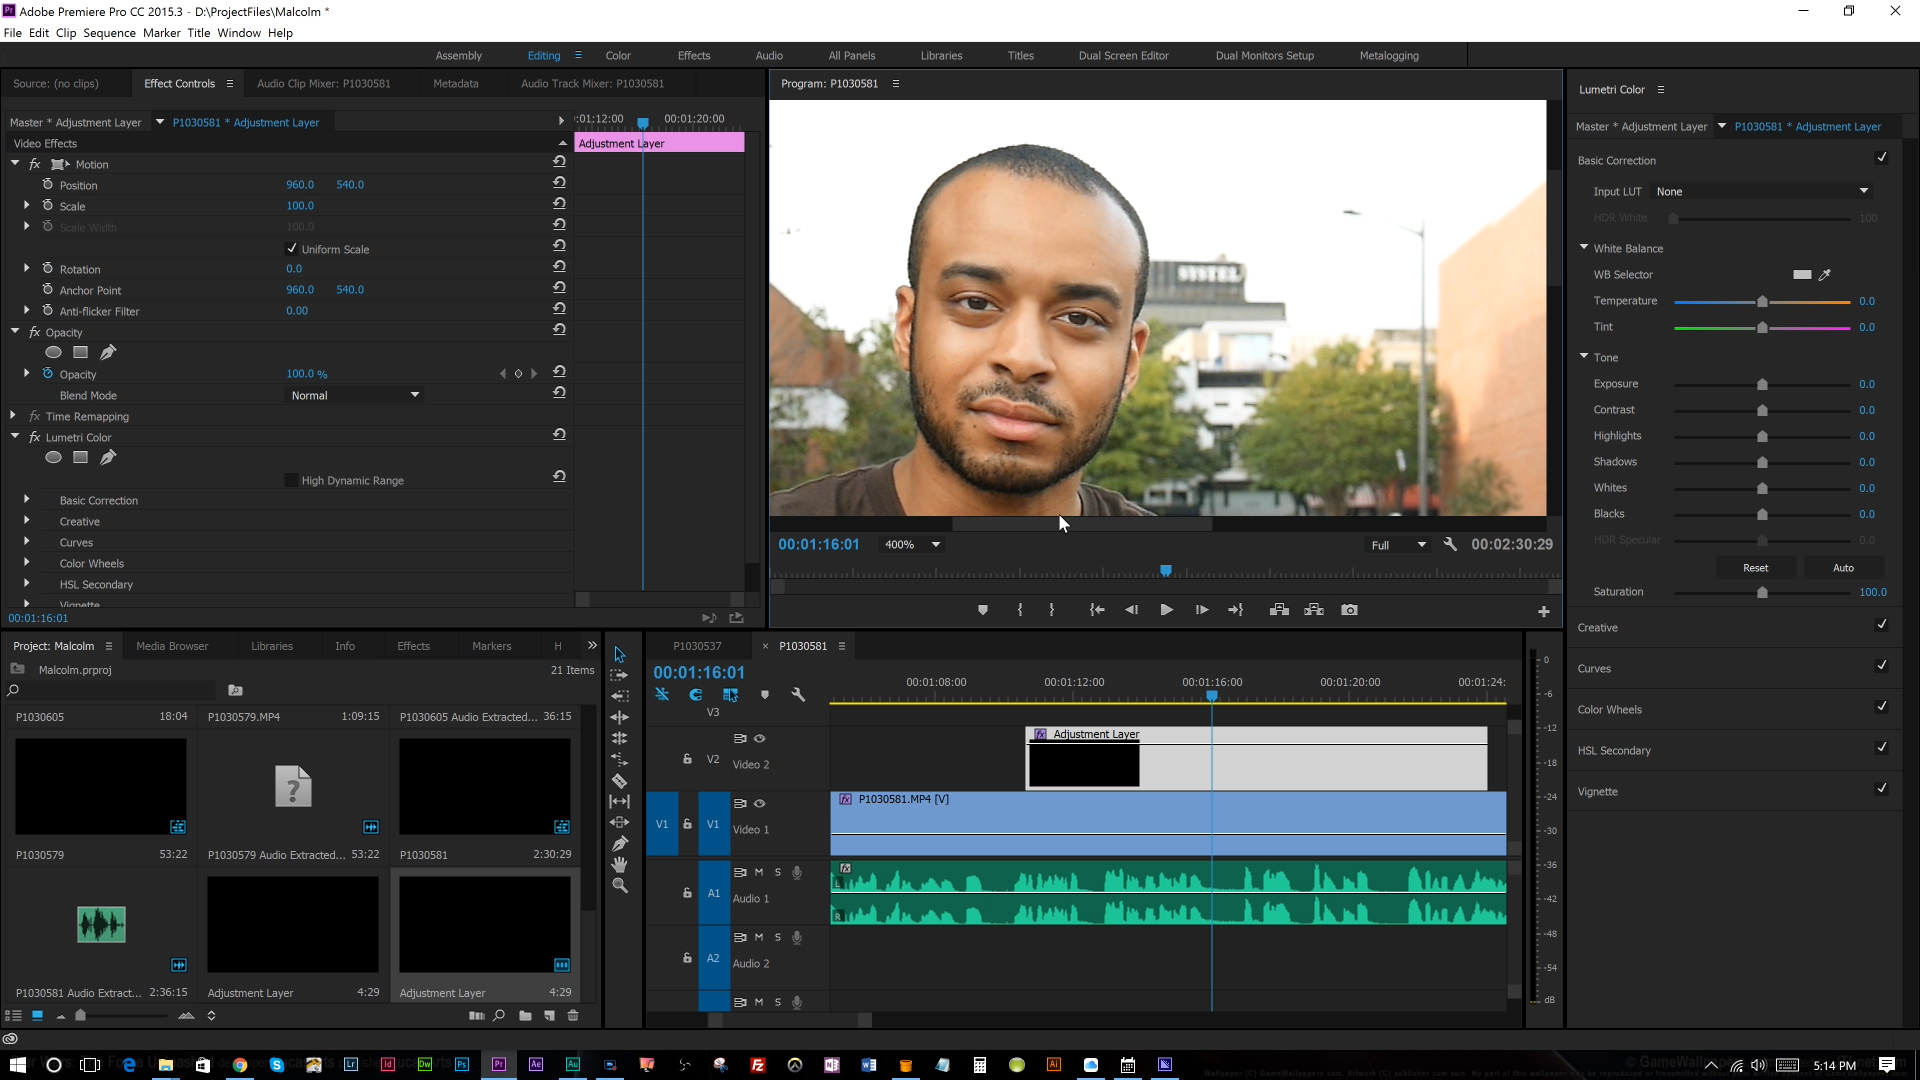
The Lumetri Color panel is Premiere Pro’s central hub for adjusting color in your video. It’s a comprehensive tool that encompasses all the essentials for color correction and grading. Let’s break down the key sections:
- Basic Correction: Start here to fine-tune the fundamentals like exposure, contrast, highlights, shadows, whites, and blacks. Use the color wheels to adjust the overall color temperature of your video.
- Creative: Explore the creative possibilities with various color grading tools:
- Color Wheels: Adjust individual color hues, saturation, and luminance.
- Curves: Make more precise adjustments to brightness, contrast, and color balance using a precise curve interface.
- HSL Secondary: Control specific color ranges within your footage. This is a powerful tool for isolating and refining particular colors, like enhancing a sunny sky or toning down a distracting green in the background.
- Vibrance: Increase the intensity of the less saturated colors in your footage without impacting the more saturated ones. This can add a subtle, pleasing boost of vibrancy to your video.
- Color Grading: Use the color grading tools to achieve a variety of effects. Some popular methods include:
- Look Up Table (LUT): Apply a preset color style to your footage, instantly transforming the look with just a few clicks. LUTs are versatile and can replicate different film stock styles, artistic looks, and even create specific moods.
- Hue vs. Saturation: This tool allows for more fine-grained control over specific colors. You can adjust the hue (color) and saturation (intensity) of specific color ranges while leaving the others untouched, providing remarkable precision in your color grading.
2. The Color Panel: When Simplicity is Key
For those seeking a more straightforward approach to color correction, the Color panel (not to be confused with the Lumetri Color panel) offers basic adjustments like brightness, contrast, saturation, and hue. While not as comprehensive as Lumetri Color, it’s perfect for quick fixes and minor color tweaks.
3. The Curves Adjustment Layer: Unlocking Advanced Control
For seasoned colorists or those seeking a higher level of control, the Curves Adjustment Layer is an indispensable tool. By manipulating the curve, you can make highly nuanced adjustments to brightness, contrast, and color balance with granular precision. This level of control allows you to create unique and creative color gradients, transitions, and special effects that are otherwise impossible to achieve with the standard tools.
4. Third-Party Plugins: Expanding Your Color Arsenal
Premiere Pro’s built-in color tools are fantastic, but they can sometimes fall short of specific artistic aspirations. To further refine your workflow, consider exploring third-party plugins such as:
- FilmConvert: Recreate the classic look of film stock, adding realistic grain, color variations, and film-like textures.
- Magic Bullet Looks: Offers a wide range of color grading tools and presets, including those designed for specific genres and styles.
- Red Giant Universe: Provides an extensive library of plugins for enhancing your workflow, including color grading tools like Colorista and FilmConvert.
Practical Tips for a Stunning Color Grade: Elevate Your Videos to Mastery
Now that you’ve grasped the basics of color correction and explored Premiere Pro’s color tools, it’s time to dive into practical tips for creating captivating color grades.
1. The Power of White Balance: A Crucial First Step
Always start by ensuring your footage has accurate white balance. This often involves adjusting the color temperature to match the lighting conditions, restoring the natural colors of your video. Consistency in white balance ensures that your footage looks harmonious across different shots and scenes.
2. Don’t Overdo It: Subtlety is Key
Resist the urge to crank up the saturation or contrast excessively. Remember that natural colors are often the most pleasing to the eye. While creativity is encouraged, it’s essential to maintain a sense of realism and avoid oversaturation or overly aggressive adjustments.
3. The Importance of Color Grading Throughout the Edit
Instead of waiting until the very end to grade, consider incorporating color adjustments as you edit. This allows you to make informed decisions about how color will play a role in the overall storytelling and visual flow of your video.
4. Master the Art of the Color Wheel
Spend time becoming familiar with the color wheel and how colors interact. Understanding color theory will empower you to make more nuanced and intentional color choices that enhance the mood and impact of your videos. Use the color wheels in Premiere Pro to adjust individual color hues, saturation, and luminance, fine-tuning your color palette with precision.
5. Experiment, Explore, and Refine: Color is a Journey
Learning to color grade effectively is a journey of exploration. Don’t be afraid to experiment with different looks and techniques, constantly refining your skills through practice. Watch tutorials, analyze professional color grading, and most importantly, trust your own instincts. With persistence and experimentation, you’ll develop your own style and expertise in color grading.
How To Edit Color In Premiere Pro
Conclusion: From Beginner to Color Master
By mastering the art of color grading in Premiere Pro, you’ll unlock a new level of creative freedom and transform your videos from ordinary to extraordinary. Begin with a clear understanding of color correction and color grading, explore the extensive tools within Premiere Pro, and embrace the journey of experimentation. With dedication and practice, you’ll become a confident colorist, captivating your audience with vibrant, impactful visuals that tell a compelling story.


/GettyImages-173599369-58ad68f83df78c345b829dfc.jpg?w=740&resize=740,414&ssl=1)


