Have you ever watched a movie and been captivated by the way the colors draw you into the story? From the warm glow of a cozy café to the icy blue hues of a winter landscape, color grading can transform ordinary footage into a visually stunning experience. In today’s digital age, even amateur filmmakers can harness the power of color grading, and Premiere Pro offers a robust suite of tools to help you unlock your creative vision.

Image: woodlands.adventist.org
Color grading is the art of manipulating the color and tone of your video footage to enhance the mood, atmosphere, and overall aesthetic of your project. It’s not just about making everything look “pretty”—it’s about using color to tell a story, guide the viewer’s eye, and evoke specific emotions. This guide will delve into the essential techniques and strategies used by professional colorists, making color grading in Premiere Pro accessible and empowering for filmmakers of all levels.
Understanding the Basics of Color Grading
RGB: The Building Blocks of Color
Before diving into the tools and techniques, it’s helpful to understand the foundation upon which color grading rests: the RGB color model. RGB stands for red, green, and blue, the three primary colors of light that combine to create the full spectrum of colors you see on your screen. Each color is represented by a value between 0 and 255, where 0 is the absence of that color and 255 is the maximum intensity. By adjusting these values, you can fine-tune the color and tone of your footage.
The Role of White Balance
White balance is crucial for color grading, as it determines how “white” the white objects in your scene appear. If your white balance is off, your colors will be inaccurate and may appear too warm (yellowish) or too cold (blueish). Premiere Pro offers tools to adjust white balance manually or automatically, ensuring your footage faithfully represents the original lighting conditions.

Image: fstoppers.com
The Power of Curves
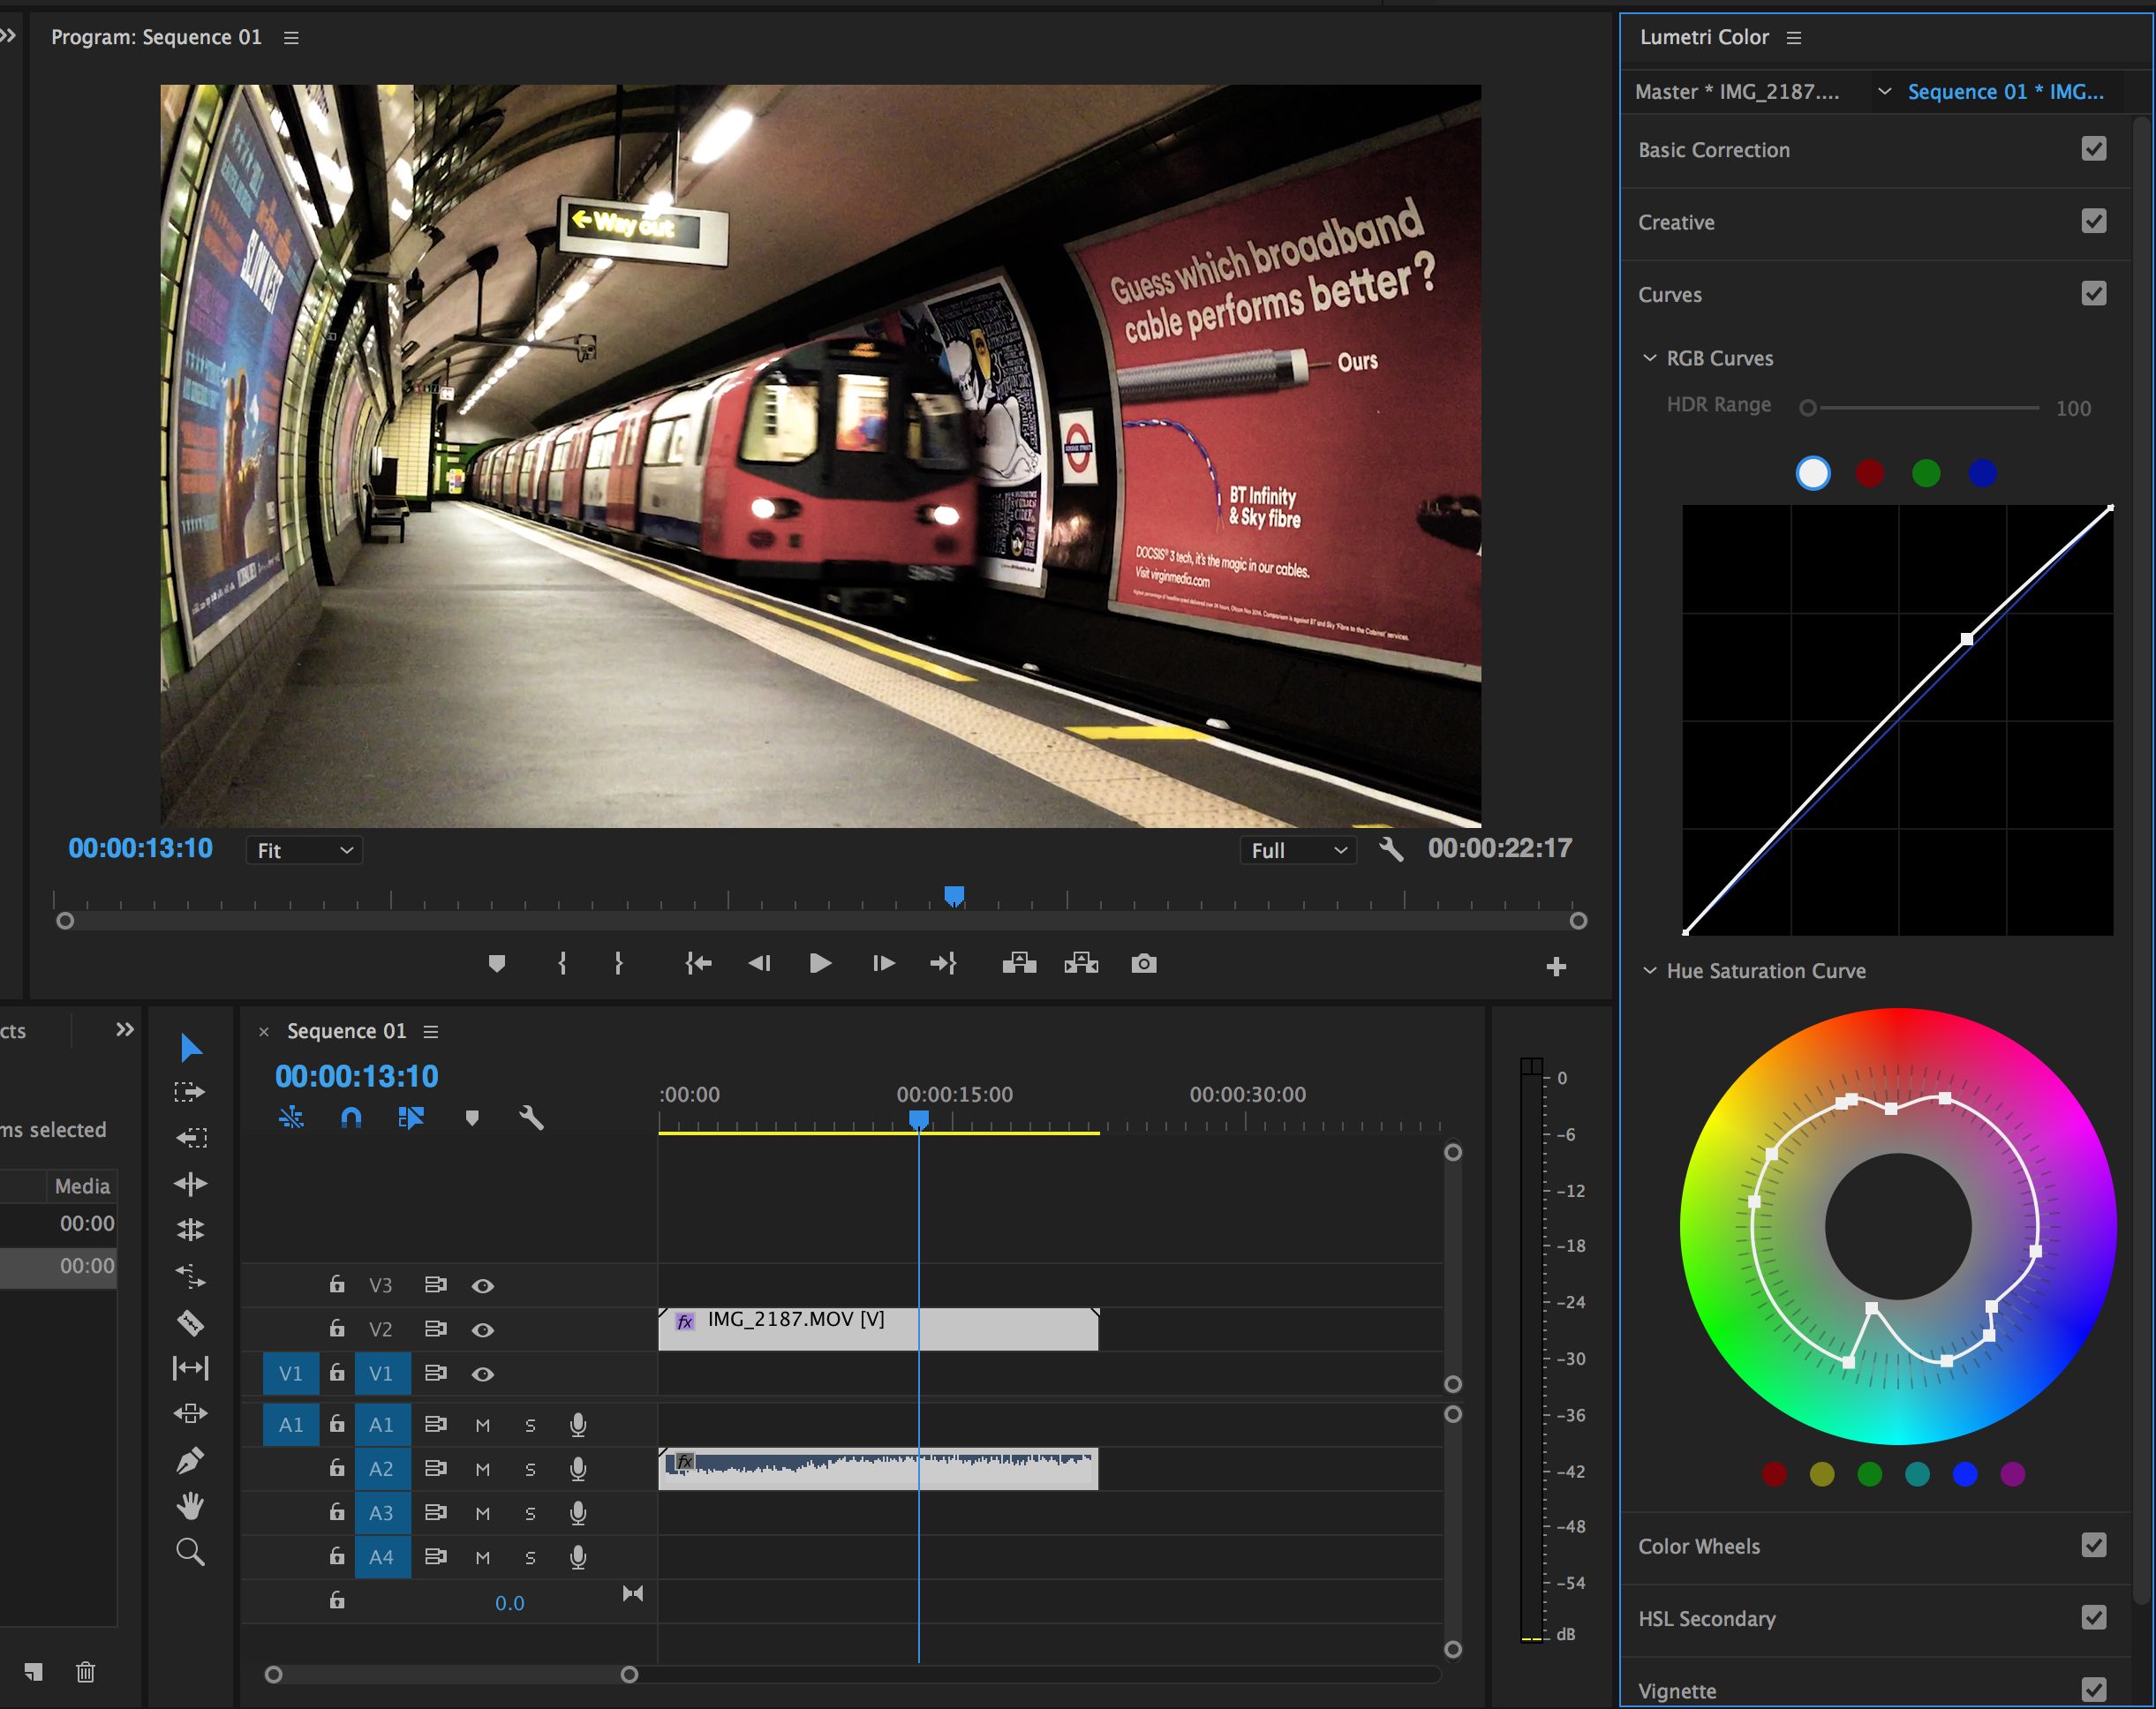
The curves tool is a powerful and versatile tool for color grading, granting you fine-grained control over the color and tone of your footage. It works by plotting a curve that connects points representing different luminance levels. By manipulating these points, you can adjust the brightness, contrast, and overall color balance of your video.
Mastering the Key Techniques in Premiere Pro
1. The Lumetri Color Panel: Your Command Center
Premiere Pro’s Lumetri Color panel is your central hub for adjusting color and tone in your video. It offers a streamlined interface with intuitive tools, making it easy to navigate even for beginners. Explore the panel’s various sections—Basic Correction, Creative, and Color Grading—to discover the wide range of effects and adjustments available.
2. The White Balance Tool: Setting the Foundation
As mentioned earlier, white balance is critical for accurate color reproduction. The Lumetri Color panel features a dedicated white balance tool, allowing you to manually adjust the white point of your footage or utilize the automatic white balance preset, which often provides a quick and effective starting point.
3. The Curves Tool: Unleashing Precision and Control
The curves tool in the Lumetri Color panel gives you ultimate control over the color and tone of your footage. You can adjust the contrast, create selective color adjustments, and even introduce subtle color shifts. Experiment with different curves to discover the unique effects you can create.
4. The Color Wheels and Correctors: Fine-Tuning Your Palette
The Color Wheels and Color Correctors are invaluable tools for achieving precise color adjustments. The Color Wheels allow you to manipulate individual color channels (red, green, blue), while the Color Correctors offer a range of targeted adjustments, including saturation, contrast, and hue.
5. Creative Looks and Presets: Jumpstarting Your Artistic Vision
Premiere Pro offers a library of pre-built creative looks and presets, providing a starting point for your color grading journey. You can apply these looks to your footage directly and further customize them using the Lumetri Color panel. Experiment with these presets to explore different styles and discover what best suits your vision.
Real-World Applications: Infusing Your Stories with Color
1. Setting the Mood and Atmosphere
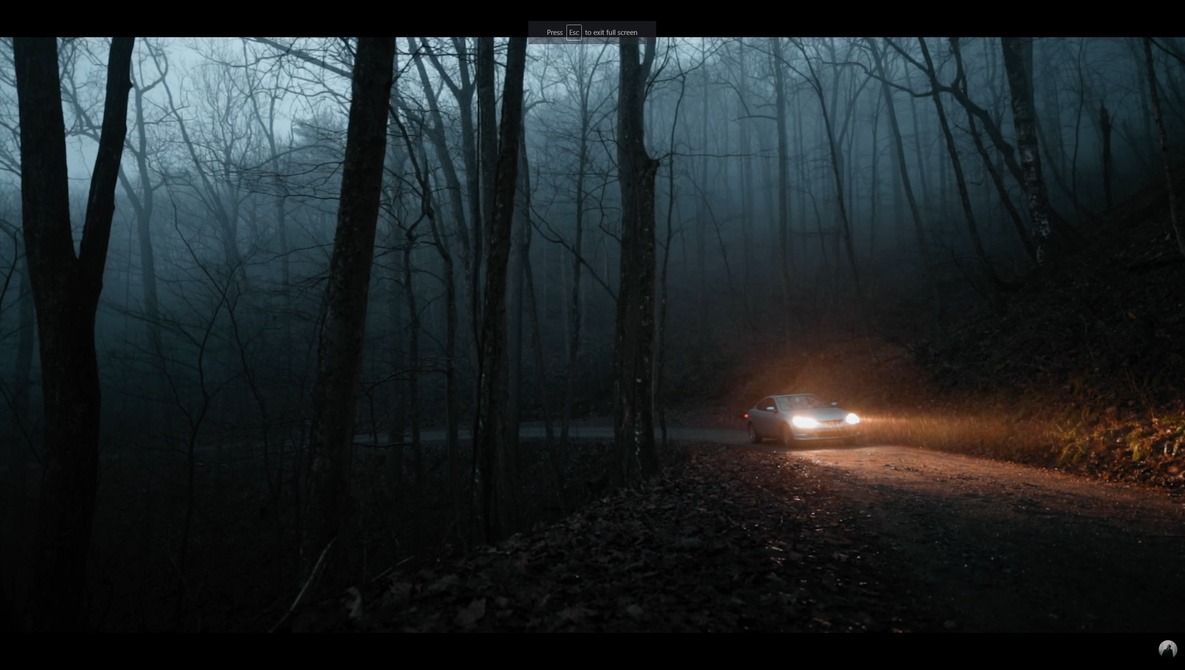
Color can powerfully influence the mood and atmosphere of your videos. Warm colors like oranges and yellows can evoke feelings of happiness, warmth, and nostalgia, while cool colors like blues and greens can create a sense of calm, serenity, or mystery. Use color wisely to convey the emotional tone of your scenes and draw your viewers into the story.
2. Guiding the Viewer’s Eye
Color can direct the viewer’s eye towards specific elements in your video. Use contrasting colors to highlight subjects of interest or create a sense of depth within the frame. This technique can be used to emphasize key details, characters, or important plot points.
3. Enhancing Storytelling and Creating Visual Interest
Color grading can add cinematic polish to your videos, making them more visually appealing and engaging. By carefully selecting color palettes and applying subtle stylistic adjustments, you can transform your footage into a visual experience that resonates with your audience.
4. Adapting to Different Genres and Styles
Different genres of videos often require distinct color grading approaches. A documentary may call for a more realistic and natural color palette, while a sci-fi film might demand vibrant and saturated colors. Experiment with different techniques and styles to find what best aligns with the specific genre and aesthetics of your project.
How To Color Grade In Premiere Pro
Conclusion: Unlock Your Creative Potential with Color Grading
Color grading is a key skill in video production, empowering you to elevate your content to new heights. By understanding the fundamental concepts and mastering the tools in Premiere Pro, you can confidently manipulate the color and tone of your footage, transforming ordinary videos into visually compelling narratives. Don’t hesitate to experiment, explore, and discover your unique color grading style. Remember, the possibilities are endless, and every color choice you make can contribute to the overall impact and message of your story.


/GettyImages-173599369-58ad68f83df78c345b829dfc.jpg?w=740&resize=740,414&ssl=1)


